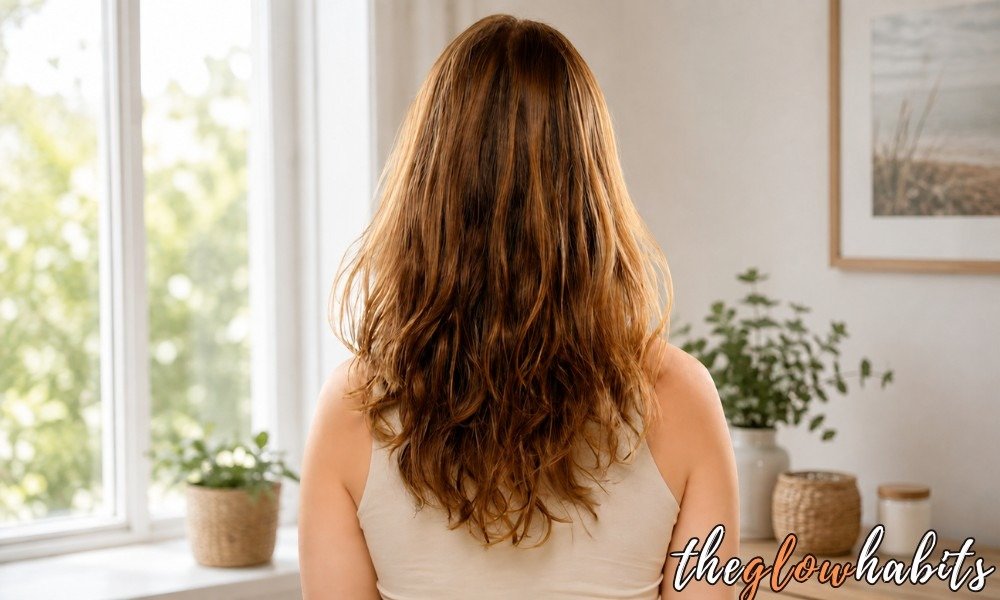
No matter what shade you go for, highlights never stay this bright on their own. The moment you leave the salon, the clock starts ticking, brassiness creeps in, and the shine fades, and before you know it, you’re due for another appointment sooner than you’d like.
I used to think this was just the price of getting highlights done, until I actually figured out what was causing the fade and fixed it. Turns out, most of it comes down to a handful of small habits, not constant salon visits.
Here’s exactly what keeps highlights looking fresh, from what to ask your stylist for to the simple things you can do at home in between.
Highlights Maintenance: Quick Facts
| Category | Details |
| Best For | Babylights, Balayage & Traditional Highlights – All Hair Colours |
| Why It Fades | Frequent washing, hot water, heat styling, hard water |
| At-Home Toner | Blue (brunette) · Purple (blonde) |
| Touch-Up Frequency | Every 6–12 weeks |
| Quick Fix Option | Face-framing foils – no full redo needed |
| Daily Protection | Heat protectant + SPF |
Why Highlights Fade So Fast
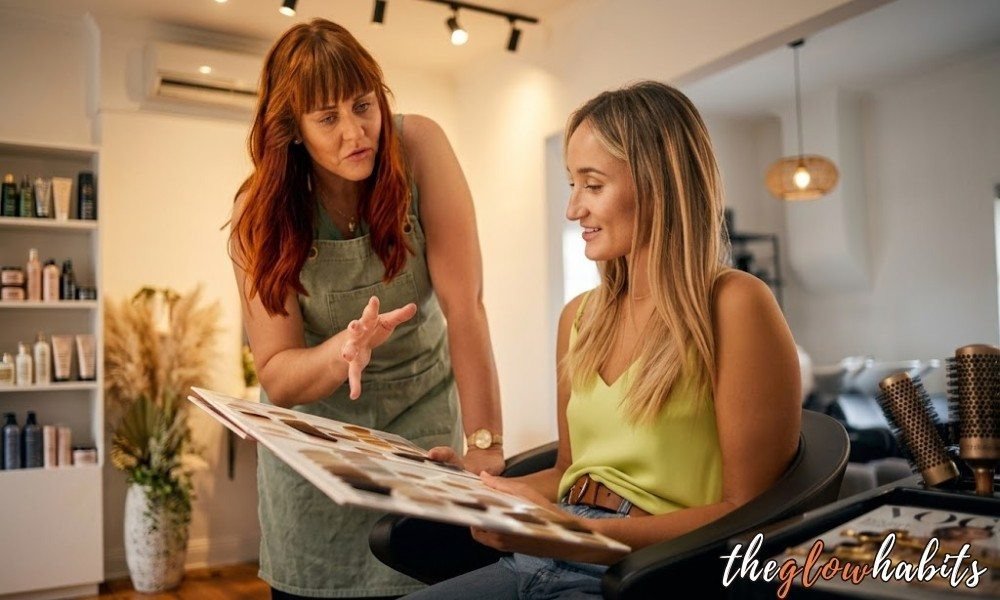
Highlights don’t just fade randomly; there’s a real reason your colour loses its glow so quickly, and it comes down to three things.
First, how often you wash your hair matters more than you’d think.
Every wash releases a bit of the toner sitting on your strands, so the more frequently you shampoo, the faster that toner disappears, which is exactly when warmth and brassiness start creeping back in.
Heat styling doesn’t help either. Flat irons, curling wands, and blow dryers used often can pull toner right out of your hair, dulling your highlights faster than you’d expect. If you’re someone who styles daily, this is probably working against you more than you realise.
Then there’s the lightening process itself. Getting highlights means stripping some of your hair’s natural pigment, and that process can also weaken the hair, leaving it drier, more fragile, and prone to breakage if it’s not cared for properly afterward.
That’s why healthy, vibrant highlights aren’t just about tone; they’re about keeping the hair strong enough to hold that tone in the first place. Once you understand what’s actually causing the fade, it’s a lot easier to build a routine that actually works against it.
What to Ask Your Stylist For
The biggest difference between highlights that fade fast and highlights that hold up for months usually comes down to what you ask for at the appointment, not just the colour itself.
Start with “lived-in colour”. This phrase alone changes how your stylist approaches the whole service. Instead of placing highlights in a rigid pattern, they’ll blend everything so your regrowth looks intentional instead of obvious.
It’s worth bringing reference photos but also telling your stylist upfront how often you actually want to come back in, as that shapes the placement and technique they choose for you.
Ask about babylights instead of traditional highlights. Babylights are much finer than the chunkier streaks you’d get with classic highlights, which means two things: they look more natural, and they grow out far more gracefully. Since the sections are so thin, there’s no harsh line where new growth starts, just a soft, gradual fade.
Bring up a root smudge or a root melt. These aren’t the same technique, but they solve the same problem: that stripe of demarcation where your natural colour meets your highlights. A root smudge blends a soft shadow at the base, while a root melt gradually transitions the colour down the length of your hair.
Either way, your stylist will pick whichever suits your hair better, and the result is highlights that look seamless from day one, with noticeably less obvious regrowth as weeks go by.
Asking for these three things specifically can add real time between salon visits, simply because the color is designed to grow out well instead of looking off the moment new hair comes in.
Low-Maintenance Salon Techniques
Beyond what you ask for, there’s a bigger-picture approach that keeps highlights low-maintenance over time and it starts with consistency.
Stick to the same foil pattern every time you go in. It’s tempting to add more highlights or change up the placement at every appointment, but constantly lifting new sections of hair means you’re repeatedly exposing fresh strands to bleach.
That adds up in damage over time. Sticking with the same foil pattern means your stylist is only touching up what’s already there, healthier hair, and a routine that’s easier to maintain long-term.
Shadow rooting works hand-in-hand with this. It’s a blending technique where your natural colour is softly deepened right at the root, so there’s no obvious line between your base colour and your highlights. Combined with the root smudge or melt from your stylist conversation,
this is what actually makes highlights look low-maintenance instead of high-upkeep; the grow-out looks intentional rather than like something that needs fixing. Together, these two things shift highlights from a service you have to keep redoing to one you can simply refresh.
A Quick Highlight Refresh, Step by Step
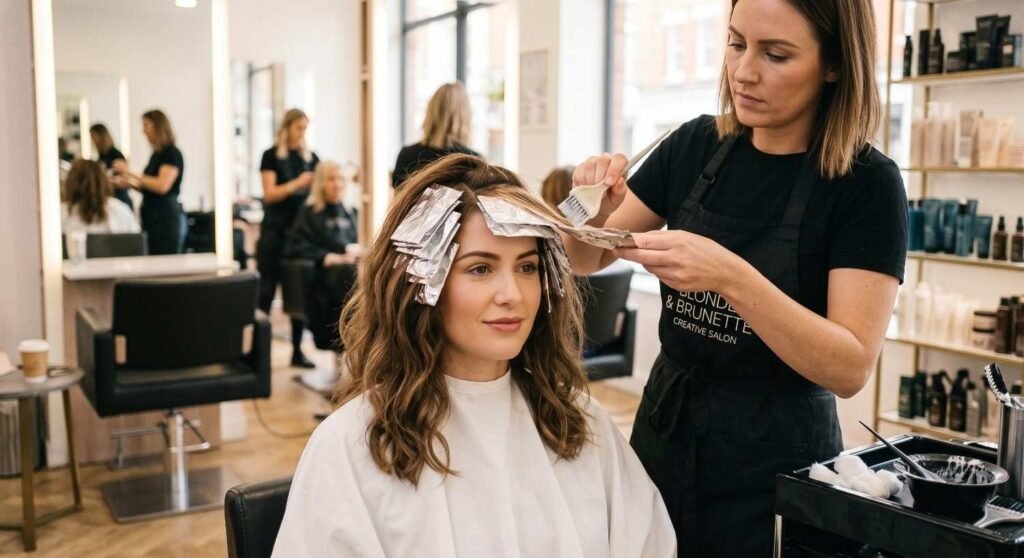
Not every touch-up needs to be a full head of foils. If your highlights just need brightening around the face rather than an entire redo, there’s a faster technique worth knowing about and it’s exactly what professional colourists use for a quick refresh.
It starts with a face-framing foil placement of just 15 to 20 foils, not a full head. This targets the pieces that frame your face, which are usually the first to lose their brightness since they’re the most visible and get the most sun exposure. It’s a fraction of the time and cost of a full highlight service, but it makes a noticeably bold difference.
The application uses a babylight technique, a very fine weave, placed back-to-back with little to no hair left between sections. This is what gives the finished look its softness. Placing foils close together like this creates a diffused, blended result rather than distinct stripes, so the colour looks natural even as it grows out.
On darker hair, expect the processing time to run around 40 minutes. Darker hair needs more time for the lightener to lift properly, so this isn’t a service you can rush, but compared to a full head of highlights, it’s still a much shorter salon visit.
Once the foils are removed, toning happens right at the shampoo bowl. Rather than a single flat tone, colourists often use a gradient approach, melting one tone from the roots into the mid-lengths, then shifting to a slightly different tone through the ends.
This creates more dimension than a single all-over toner would, and because professional toners are formulated to process quickly, the whole step only takes a few minutes before your colour is rinsed and finished.
The result is a refreshed, brightened look without committing to a full colour service, ideal if you just need your highlights to look “new” again without redoing all the work you already have.
At-Home Wash Routine That Protects Toner
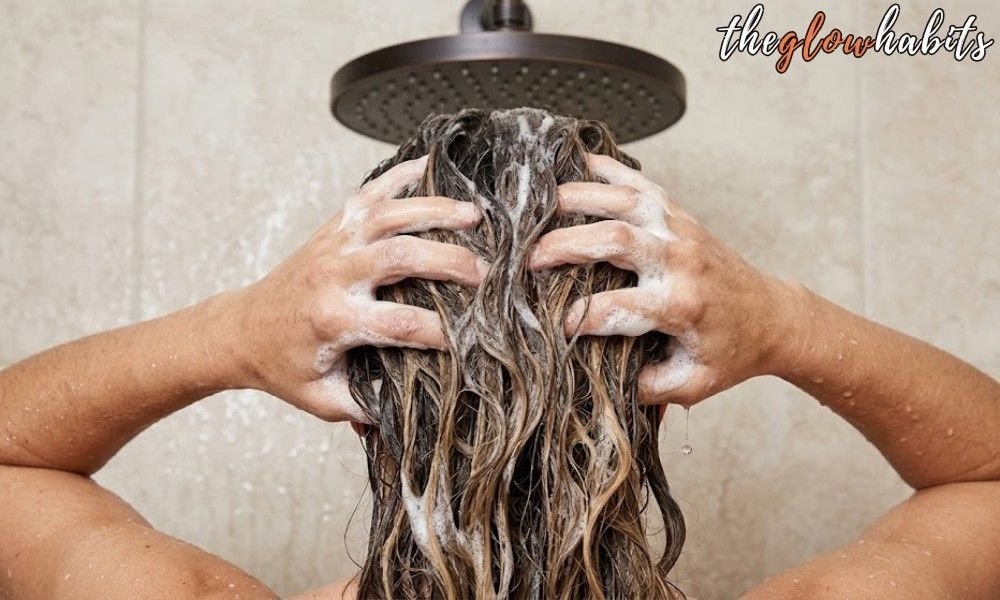
Everything you ask for at the salon can only last so long if your wash routine works against it. The good news is that protecting your toner at home comes down to a few simple habits, not a complicated routine.
Wash in cool or lukewarm water, never hot. Hot water opens the hair cuticle and speeds up how quickly toner rinses out, which is exactly what you’re trying to avoid. Lukewarm water gets your hair just as clean without stripping colour as fast. You don’t need it ice-cold, just not scalding.
Pay attention to how often you’re washing, not just how. Every wash releases a little more toner, so the more frequently you shampoo, the quicker your highlights will start showing warmth again. Stretching out the days between washes even by a little makes a real difference in how long your colour stays true.
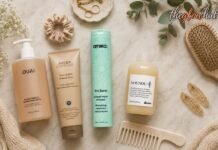
Switch to a colour-specific shampoo and conditioner. Regular formulas aren’t built to protect toner, and many contain sulphates that strip colour faster with every wash. Colour-safe versions are gentler on treated hair and help hold onto the tone you just paid for.
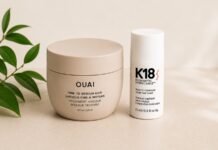
Add a colour-depositing mask into your routine once a week. This does double duty: it deposits a bit of pigment to refresh your tone between salon visits while also giving your hair the hydration it needs after the lightening process. It’s one of the easiest ways to stretch time between toning appointments without much extra effort.
None of this requires a complicated routine, just swapping a few habits that, over time, make a noticeable difference in how long your highlights stay bright.
Toning Highlights at Home
Salon toner doesn’t last forever, but you don’t need a professional to keep brassiness in check between visits. The right at-home products can extend that fresh-from-the-salon look for weeks.
Blue Toner for Brown/Brunette Highlights
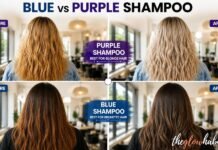
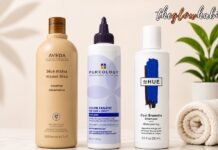
If your highlights sit on brown or brunette hair, blue is the tone you want, not purple. Brunette highlights tend to pull orange as they fade, and blue is what cancels that out. A toning conditioner with a hint of blue works well here because it’s hydrating while it tones, so you’re not sacrificing moisture to fight brassiness. A blue shampoo can work too, though conditioner-based formulas tend to be gentler and often last a little longer between uses.
Purple Shampoo for Blonde Highlights
Blonde highlights fade differently; they pull yellow, not orange, which is why purple shampoo is the go-to here instead of blue. Using it every two to three weeks is usually enough to keep blonde highlights looking bright and cool-toned rather than brassy. Any more frequently than that, and you risk overcorrecting; any less, and yellow tones can start creeping back in before your next wash.
Toning Mousse Option
If shampoo or conditioner formulas feel like too much commitment, a toning mousse is worth trying. It’s a leave-in option, so you skip the rinse-out step entirely; just work it through damp hair and let it do its job. This tends to work well for anyone who wants to tone without adding another full product to an already long shower routine.
Hair Gloss for Extra Shine
It’s easy to assume brassy-looking highlights just need more toner, but that’s not always the fix. Toner cancels out unwanted warmth; it doesn’t necessarily make colour look brighter or shinier. That’s where a gloss comes in.
Instead of correcting tone, a gloss adds shine and vibrancy on top of it, which is often what highlights actually need to look “fresh” again rather than just “not brassy”. Using both toner to correct and gloss to brighten tends to give the most noticeable result.
Repairing Damage From Lightening
Highlights don’t just fade in colour; the hair itself takes a hit in the process, and that’s just as important to address as tone.
Lightening strips away more than pigment. Whenever hair is bleached, it loses some of its natural protein and lipids, along with the colour it sheds. This is what causes highlighted hair to feel drier, frizzier, and more prone to breakage than hair that’s never been colour-treated, even if the tone itself still looks fine.
That’s why protein and lipid replenishment matters just as much as toning. Products designed to rebuild what bleaching removes help hair hold onto its strength and softness, rather than just looking bright on the surface while weakening underneath.
Skipping this step is often why highlighted hair can look good for a while, then suddenly start snapping or feeling straw-like out of nowhere.
Think of this as a separate step from toning, not a replacement for it. Toner fixes colour; protein and lipid treatments fix the hair’s actual condition. Highlights that last and look genuinely healthy, not just bright. They need both working together, not one or the other.
Protecting Highlights From Heat & Sun
Heat and sun exposure are two of the fastest ways to dull highlights, even when your wash routine and toning are on point. Protecting against both makes a bigger difference than most people expect.
Heat Protectant
Skipping heat protectant is one of the easiest ways to quietly dull your highlights over time. The difference is more noticeable than you’d think; hair styled without protection tends to look flatter and less vibrant, even if the colour itself hasn’t technically faded.
A clean-beauty formula is worth looking for here, since heavier products can leave a residue or film that weighs hair down instead of just shielding it. The goal is something that protects without you feeling like there’s product sitting in your hair.
No-Heat Styling Alternatives
Skipping hot tools altogether, even occasionally, gives highlights a break they don’t usually get. One simple option: braid damp hair before bed and let it set overnight instead of blow-drying or curling it the next morning.
In the morning, smoothing a bit of oil through the braided waves helps tame any frizz and adds shine; no heat is required. It’s a small swap, but doing it even a couple of times a week reduces how much thermal stress your highlights are exposed to.
Sun Protection for Color-Treated Hair
Sun exposure fades colour just like it fades fabric, and highlighted hair is especially vulnerable since it’s already been lightened once. A hat is the simplest fix if you’re outside for long stretches, but for daily protection
A powder SPF made for hair applied at the roots is worth adding to the routine. It’s lightweight, doesn’t clump or leave residue, and protects colour without interfering with how your highlights look or feel.
Hard Water and Highlight Fade
You can do everything right – the toner, the protectant, and the colour-safe products – and still watch your highlights fade faster than expected. If that’s happening, the culprit might not be your routine at all. It might be your water.
Hard water works against your colour no matter how careful you are. It’s easy to overlook, but the minerals in hard water build up on hair over time and can fade colour, dry out strands, and even contribute to breakage, undoing all the effort you’re putting in elsewhere.
The frustrating part is that none of your usual fixes (better shampoo, more toner) actually solve this, because the problem starts before the product even touches your hair.
The first step is figuring out if hard water is actually the issue. Simple test kits are widely available and make this easy to check at home – no guesswork needed. If the test confirms hard water, installing a filter is worth the investment. It’s a one-time fix rather than an ongoing workaround, and the difference in how your colour holds up afterward tends to be noticeable.
If your highlights are fading faster than they should despite doing everything else right, this is the one thing worth ruling out before assuming the product or technique is to blame.
Highlight Maintenance by Hair Colour
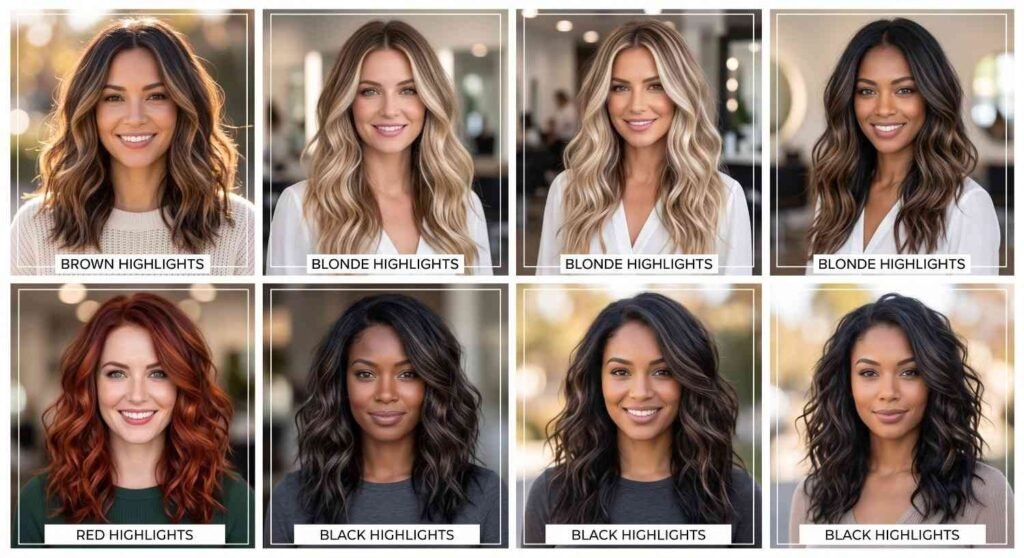
Not all highlights fade the same way, and maintenance really does shift depending on your base colour. Here’s what tends to work best for each.
Brown/Brunette Hair
Brunette highlights typically need a salon visit every two to three months to keep them looking fresh, since darker bases show grow-out and warmth faster than lighter ones. Between visits, a toning mousse is worth keeping in rotation
It’s an easy way to knock back brassiness without committing to a full shampoo swap. Leaning on no-heat styling as often as possible also helps stretch the time between appointments, since heat is one of the fastest ways brunette highlights lose their shine.
Blonde Hair
Blonde is the most prone to brassiness out of any highlight colour, which is why purple shampoo earns a spot in the routine every two to three weeks. Masking regularly matters just as much here
Blonde hair tends to feel the effects of lightening more than other shades, so keeping it hydrated and strong is part of maintaining the colour, not separate from it. One trick worth knowing: a coloured, lightly tinted dry shampoo can help ash out the roots between washes, keeping regrowth from looking too warm or golden.
Red Hair
Red highlights fade the fastest of any colour, so it’s worth going in slightly darker and richer than your target shade from the start. It gives the colour more room to fade gracefully instead of looking washed out too quickly.
If you have dyed red hair and are adding highlights on top, make sure your stylist keeps the highlighted sections separated from the red dye during application. Without that separation, the colours can bleed into each other and muddy the result.
Black Hair
Black hair exposes the most warmth when it’s lightened, which makes toning between highlight appointments especially important; skipping it lets brassiness show up faster and more visibly than on lighter bases.
Heat protectant also matters more here than people expect; between the wash routine, styling habits, and sun exposure, black hair with highlights can fade quicker than it looks like it should, so protecting it from heat is one of the simplest ways to slow that down.
Maintaining Highlights While Traveling
If you travel often, your highlight routine needs to travel with you and that’s usually where things fall apart. Liquids get left behind for TSA rules, or your usual products just don’t make it into a carry-on, and your at-home routine quietly stops happening for weeks at a time.
This is worth bringing up with your stylist, not just figuring out on your own. A busy travel schedule changes what kind of maintenance actually works for you, and it’s a good opportunity to ask whether your current at-home routine still fits your lifestyle or if it needs to change.
A powder-to-liquid shampoo and conditioner system solves the biggest travel problem: bulk and spill risk. Instead of packing bottles, you’re carrying a small, lightweight container of powder. Wet your hands in the shower, add a small amount of powder, and mix in a bit more water, and it transforms into a lather just like a regular shampoo or conditioner.
No liquid restrictions to worry about, no risk of a bottle leaking through your bag, and one small container lasts through dozens of washes, which means you’re not repurchasing travel-size products every time you fly.
This kind of system isn’t just for frequent flyers. It works just as well for anyone who’s active outdoors on camping trips or at festivals or in the gym bag you keep packed anywhere a full bottle isn’t practical but you still need to protect your colour.
If your highlights tend to look worse after a trip than before it, the issue usually isn’t the travel itself; it’s that your routine didn’t come with you. Fixing that is a lot simpler than it sounds.
A Styling Routine That Keeps Color Looking Fresh
How you style your hair day to day plays a bigger role in how long highlights look good than most people realise and the right routine doesn’t have to be complicated.
Start at the roots with a volumising mousse. Massaging a small amount into the root area adds fullness and body without weighing hair down, and it gives you something to work with even as highlights grow out. Fuller-looking roots also make regrowth less obvious, which stretches how long your hair looks freshly done between salon visits.
Use a thermal-protecting spray through the mid-lengths and ends before blow-drying. This does double duty; it shields hair from heat damage while also helping your style hold longer, so you’re not reaching for hot tools again the next day just to fix flat, lifeless ends. Protecting this way means your highlights keep their vibrancy instead of slowly dulling every time you blow-dry.
Finish with a dry oil mist once your style is done. This is the step that pulls everything together; it adds softness and a noticeable shine without making hair feel heavy or greasy.
It’s also what makes highlights actually catch the light instead of just looking flat and one-dimensional, even after all the toning and protecting you’ve already done.
Layered volume at the roots, protection through the length and shine at the end – this routine does more than just style your hair. It’s actively working to keep your highlights looking as fresh as the day you left the salon.
How to Choose the Right Stylist for Your Highlights
Every tip in this guide works better when you’re working with the right stylist to begin with and that comes down to more than just their portfolio.
A good stylist looks at your hair and your lifestyle before recommending anything. Highlight maintenance isn’t one-size-fits-all; how often you wash your hair, how much heat styling you do, how busy your schedule is, and even how often you travel all shape what kind of highlights will actually work for you long-term.
A stylist who asks about these things before picking a technique is setting you up for colour that’s realistic to maintain, not just colour that looks good walking out the door.
Communication matters more than people expect. Bring reference photos, but don’t stop there; be upfront about how often you’re actually willing to come in for touch-ups and what your day-to-day routine looks like.
The clearer you are about your lifestyle and expectations, the better your stylist can customise both the technique and the products they recommend, instead of giving you a generic recommendation that doesn’t fit how you actually live.
Getting this right at the start saves you from a colour that fights your lifestyle every step of the way and makes everything else in this guide easier to actually stick to.
FAQ‘s
Every 4-6 weeks on average. Blonde highlights need it closer to every 2–3 weeks since brassiness shows up faster.
Yes, blue for brunettes and purple for blondes. Just don’t leave it on longer than the instructions say, or hair can look dull or overly cool-toned.
Yes. Mineral buildup fades colour and dries out strands, no matter how good your product routine is. Worth testing your water if highlights fade faster than expected.
Toner cancels out brassiness. Gloss adds shine and vibrancy. Using both together gives the best result.
Generally yes. The grow-out is softer and less obvious, so salon visits can be spaced further apart, though you’ll still need to tone and protect at home.
Conclusion
Highlights that last aren’t about one magic product they’re about small habits working together: what you ask your stylist for, how you wash and tone at home, and protecting your hair from heat, sun, and hard water. Start small. Switch to a color-safe shampoo, or finally use that heat protectant you’ve been skipping, and build from there. Your highlights will hold their shine, and you’ll spend a lot less time and money chasing brassiness out of your hair.